

Scrapbooking Paper Piecing, a piece of cake!
Scrapbooking paper piecing patterns can be created by yourself or purchased ready. The good news is that you do not need to be an artist to create your own patterns! It is a fairly simple process to learn and the result creates a lot of value in your layouts.
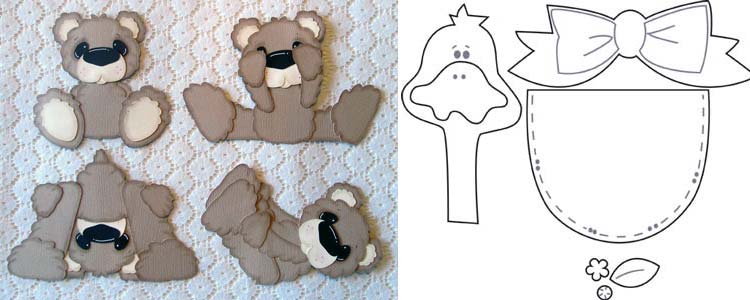
The fastest way of finding patterns is to look for a website that has patterns available for free.
You just need to transfer the pattern to a paper, print and then cut and finally glue the pieces together. That's how most begin to try on paper piecing.
A more creative way is to create the pattern itself:
1. Draw a simple sketch of what you want to do! Use your creativity. The outline should be about the same size as your intended finished paper piecing.
2. Insert a blank white piece of your sketch. Here you can benefit from using a so-called light box to see your sketch through the paper in a better way. Drawing Now every part of your sketch individually, then the components you want to "break" apart. (Legs, arms, head, wheels, windows, etc.)
3. Make sure that there is space to glue the component when you put together your paper piecing.
4. Once you have drawn all of the components you have the structure ready for your first paper piecing, and that's just to cut all the pieces o put together!
If you think that drawing is difficult, you can use colored paper and / or simpler already drawn motifs / lines.
In order to capture ideas:
Look through books, magazines, web pages with layouts, clip arts, etc.
Take a copy of what you find interesting and cut it up into pieces.
Try to cut / cut in the places where it changes color, because it's the easiest way. Then proceed to transfer the pattern / structure / design your own paper, cut out the pieces and then glue them together.
Accessories for your paper piecing:
- Adhesives, scissors, pattern, cardstock och pattered paper is what you need as beginner.
